Example Home Elevator Projects in Vancouver, Washington

Each example traces one home elevator job from the first measurements to the first ride: the house, the spot chosen for the elevator, the building work, the timeline and an approximate cost. Vancouver has many 1970s and 1990s houses, and Camas and Washougal add older homes and many new ones.

These are examples, not past jobs, clients or addresses. They are put together from local house ages, the steps each kind of job usually needs and current price ranges, so you know what to expect before you ask for a quote.

Elevator in the corner of a formal living room off the entry

Example project
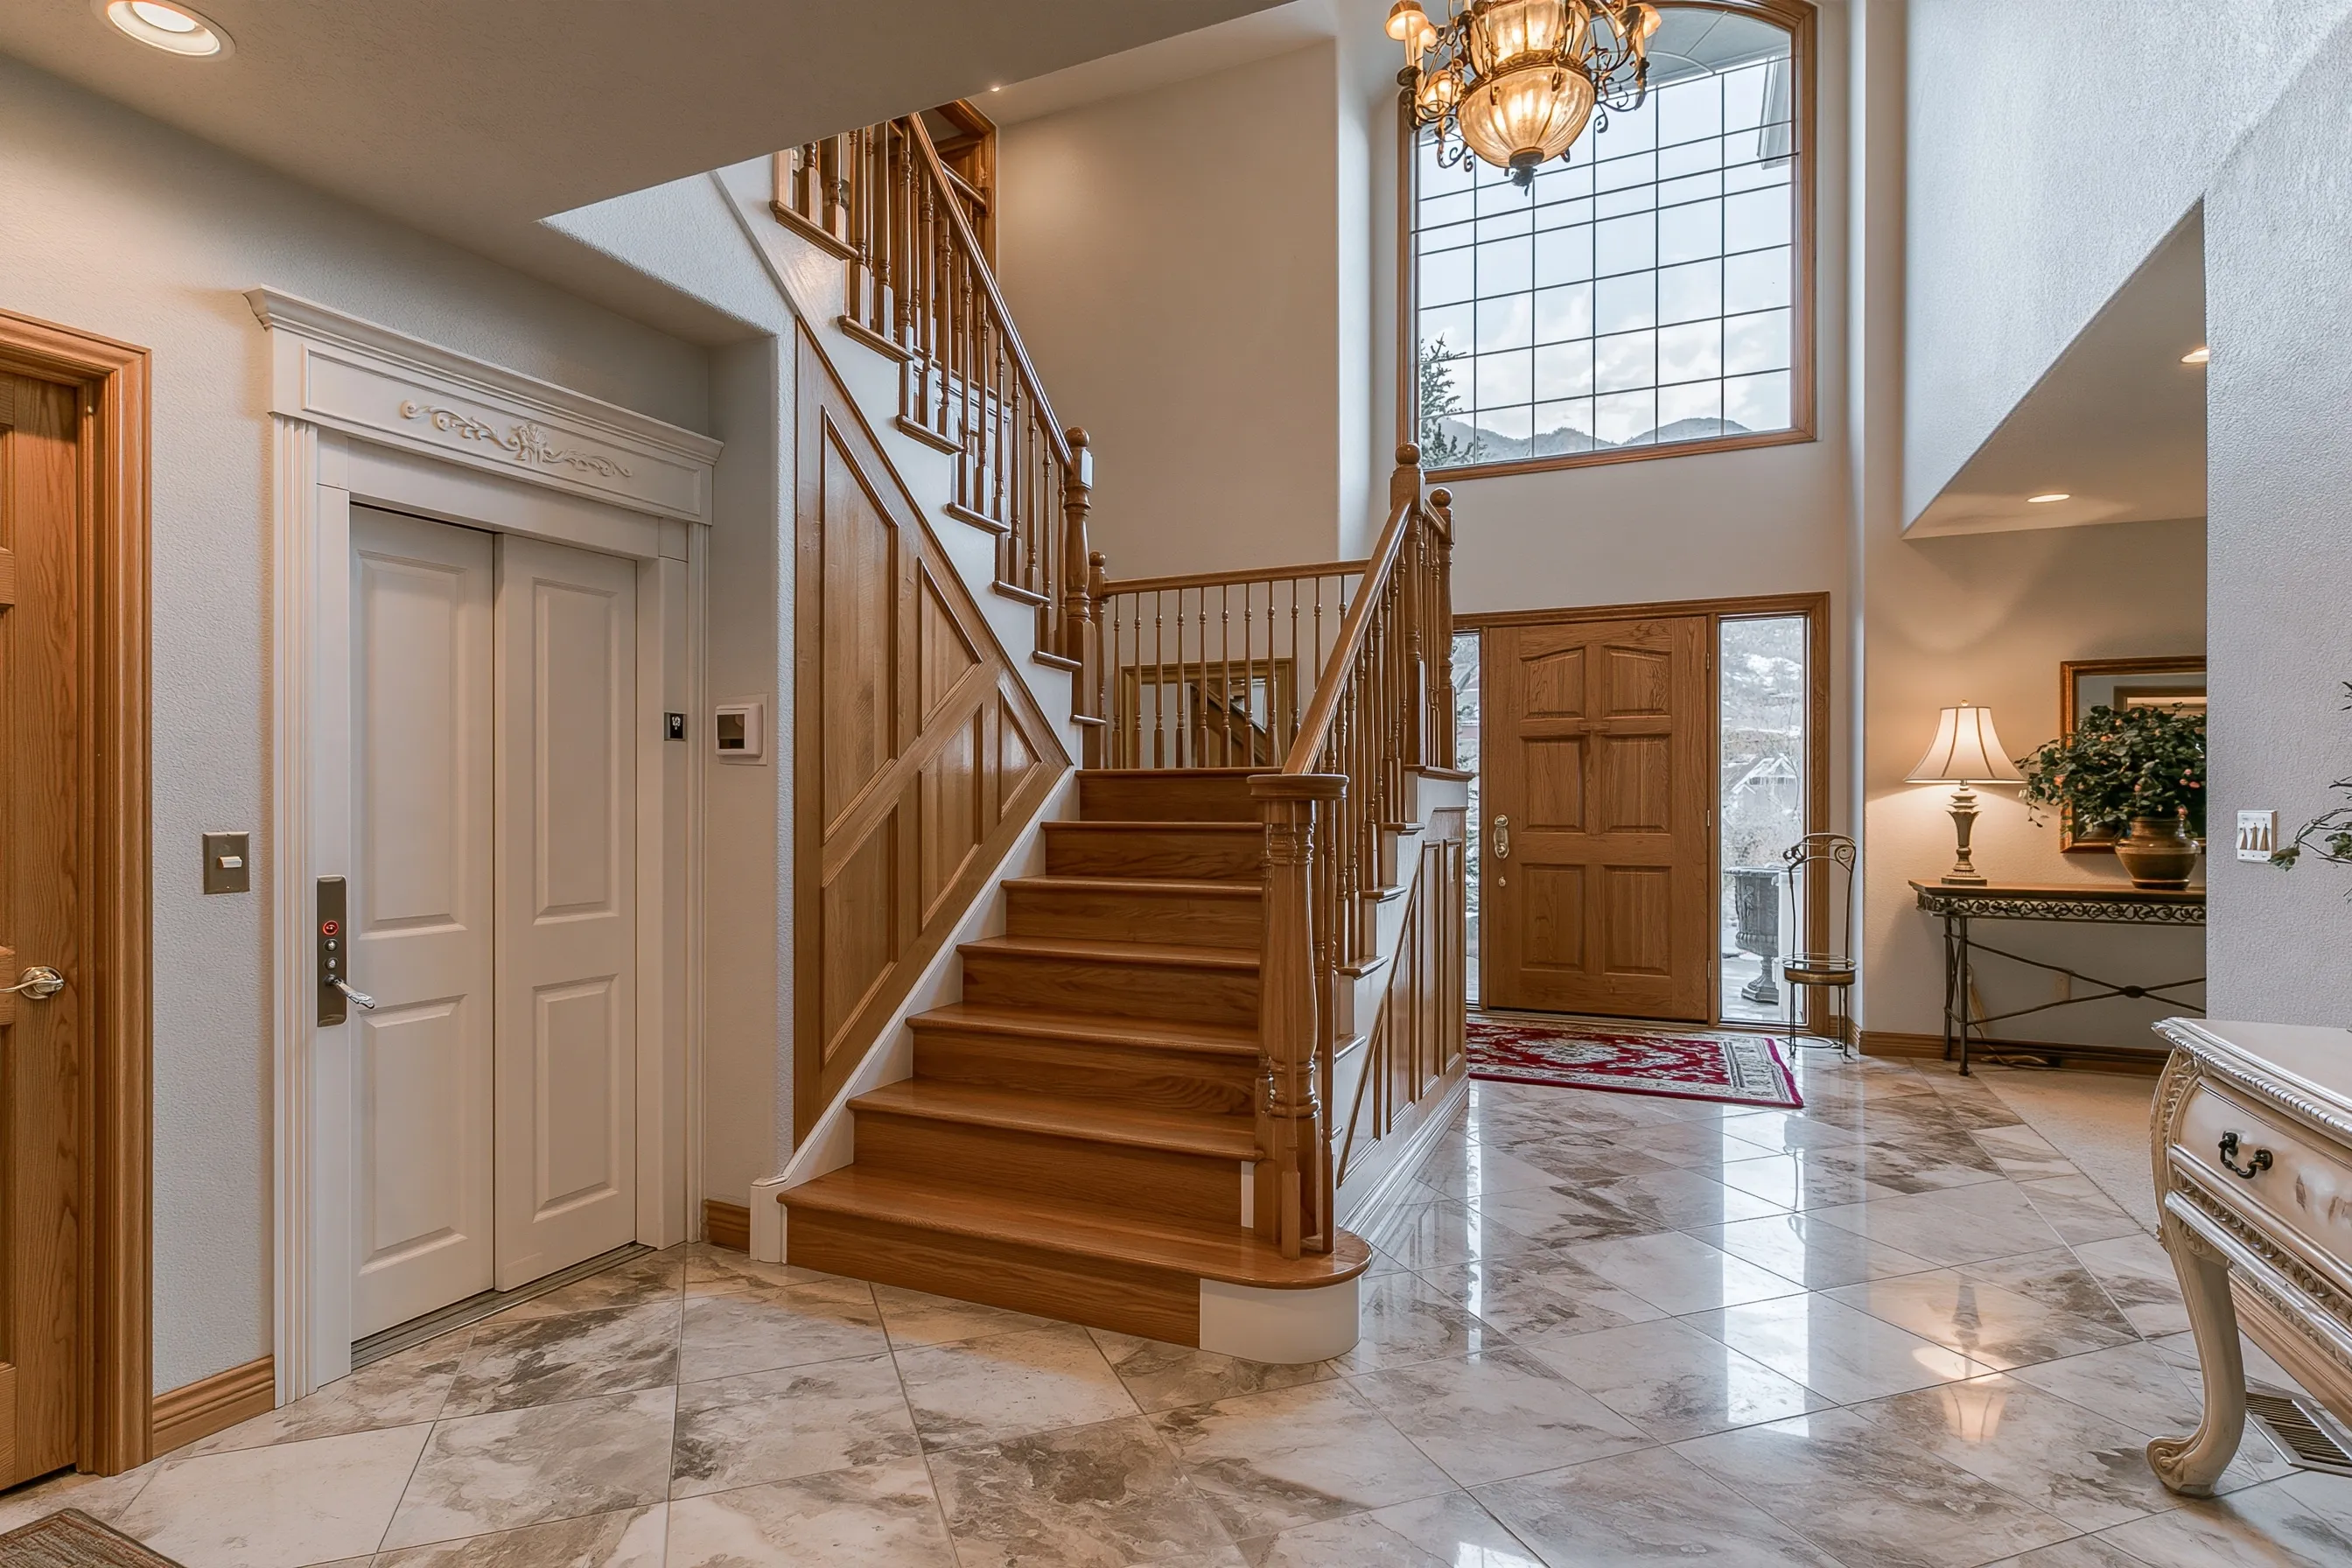
Two-story entry hall with a painted elevator door beside the main stair, a tile floor and a tall window above the front door
Home
2000s two-story house in Vancouver with a two-story entry hall
Original request
An elevator near the front door that does not take a bedroom or a closet
Shaft
One corner of the little-used formal living room, with the door facing the entry hall
Upstairs stop
A nook in the upstairs hall beside the bedrooms
Elevator
Closed cab with two stops
Timeline
Three weeks of construction and ten days or so of elevator work
Estimated cost
$76,000

Scope of work

Drawings, the floor opening upstairs, the shaft framed in the living room corner and drywalled, a power circuit, the elevator with doors at both floors, trim and paint, testing and the state elevator permit and inspection. The city permit and the engineer are billed on top.

Project overview

In this example, the owners of a 2000s house in Vancouver hardly use the formal living room off the entry hall. They want an elevator near the front door, and they do not want to lose a closet or a bedroom for it.

One corner of that living room becomes the shaft. The elevator door opens onto the entry hall beside the main stair, and upstairs it lands in a nook of the hall by the bedrooms. The rest of the living room stays as a smaller sitting room.

The goal

The goal is an elevator by the front door that costs the house only a corner of a room it hardly used.

Process

  1. First visit Living room corner and upstairs hall measured, framing and power checked.
  2. Drawings and permits Plans for the shaft, a city permit and the L&I permit.
  3. Weeks one to three Upstairs floor opened, shaft framed and drywalled, circuit run.
  4. Week four About ten days to set rails, cab and doors.
  5. Finish Casing and paint, trial runs and the L&I sign-off.

Planning right

  • Look at the rooms you rarely use. A corner of one can hold a shaft.
  • Facing the door onto a hall keeps the elevator easy to reach from both floors.
  • Ask how much of the room is left once the shaft walls are up.
  • Plan lights near the landing doors so they are easy to find at night.

Get a free quoteMore about adding an elevator to an existing home
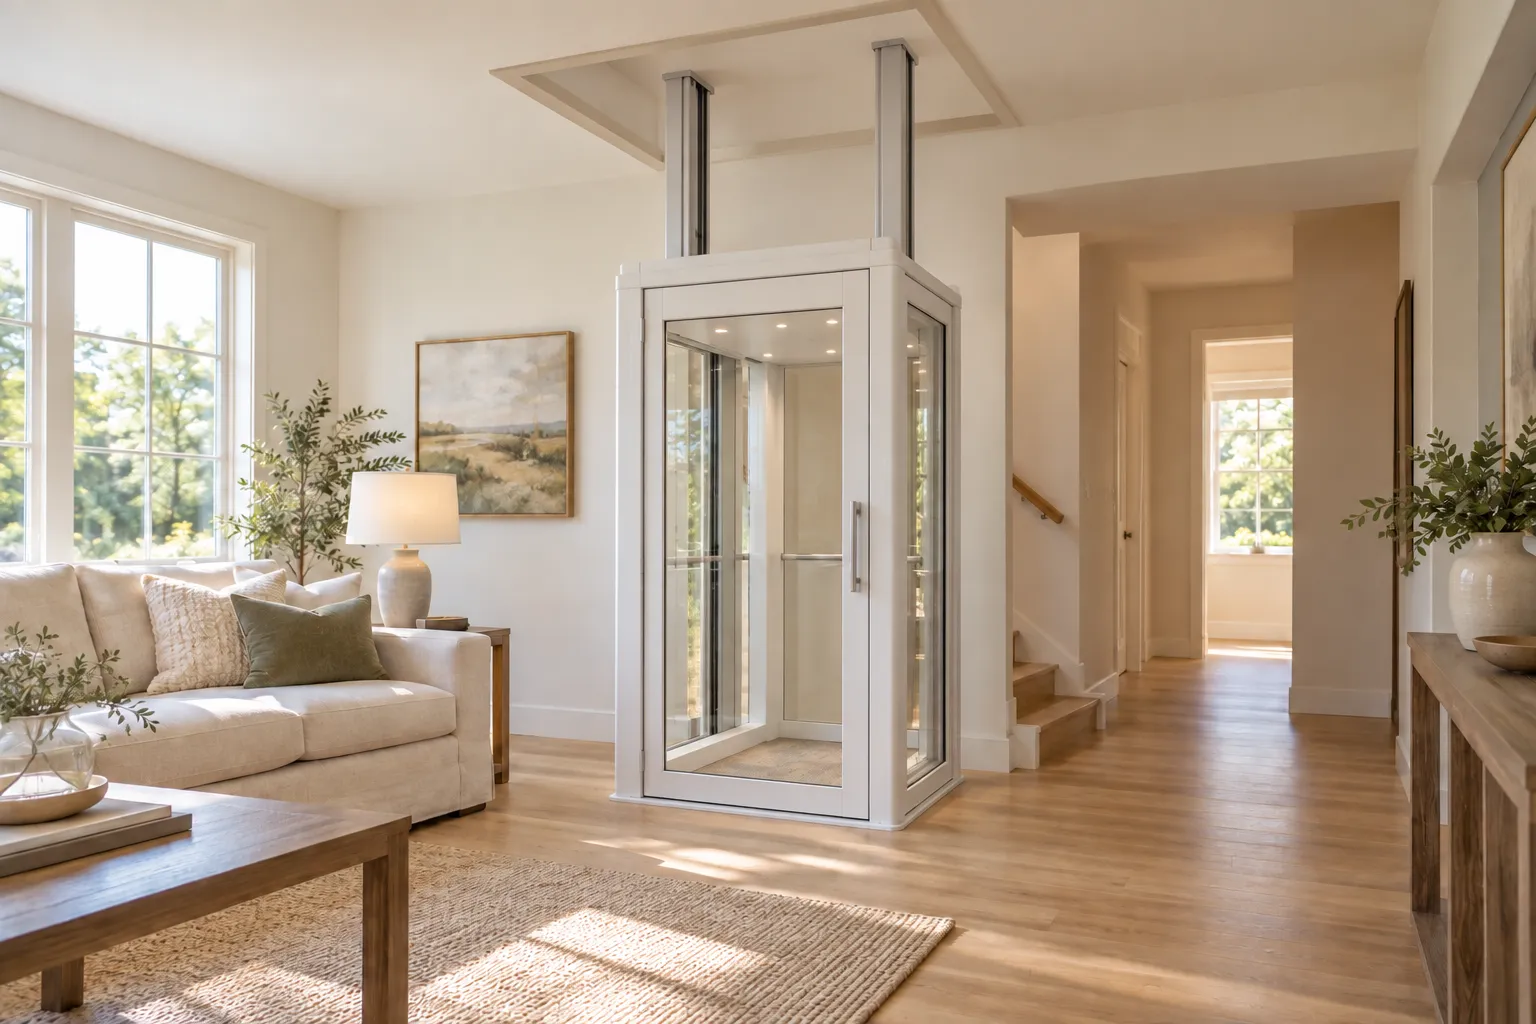
Through-floor lift a couple share, one ride at a time

Example project

Living room with a glass-sided through-floor lift in a white frame, two rails rising to an opening in the ceiling
Home
Vancouver house from the 1990s on two floors, roughly 1,900 sq ft
Original request
A lift both owners can use to reach the bedrooms
Lift
Through-floor lift for one standing rider, two floors, with call buttons on both floors
Spot
A living room corner near the hallway, rising into the upstairs hall
Building work
A framed hole in the ceiling, a new circuit and trim up and down
Timeline
Two to three days on site after delivery
Estimated cost
$36,000

Scope of work

A lift for one rider; an opening cut in the ceiling and framed; a new circuit; call buttons on both floors; trim and touch-up paint upstairs and down. The price covers trial runs plus L&I’s permit and inspection.

Project overview

In this example, a couple in a 1990s house in Vancouver both find the stairs tiring. Their house has no closets that stack, so a shaft would cost a room.

A through-floor lift fits a living room corner and rises into the upstairs hall. It carries one rider at a time, so the couple ride one after the other: call buttons on both floors bring the empty cab back for the next ride.

The goal

The goal is a lift both owners can use to reach the bedrooms without losing a room.

Process

  1. First visit Both floors measured and the joists above the corner checked.
  2. Permit We apply to L&I for the elevator permit.
  3. Day one Hole cut in the floor and framed; new circuit run.
  4. Days two and three Rails up, cab in, call buttons wired, trim on, trial runs.
  5. Handover After the L&I visit, both owners ride it, send it empty between floors and practice lowering it without power.

Planning right

  • Stand in the cab before you buy. Check there is room to turn and hold the rail.
  • Pick the corner with the hallway in mind. You need clear floor at both ends.
  • Ask whether the lift can be sent to the other floor empty.
  • Ask what the lift does if both owners press a call button at the same time.

Get a free quoteMore about shaftless home elevators

Elevator through an upstairs closet and the laundry room below

Example project

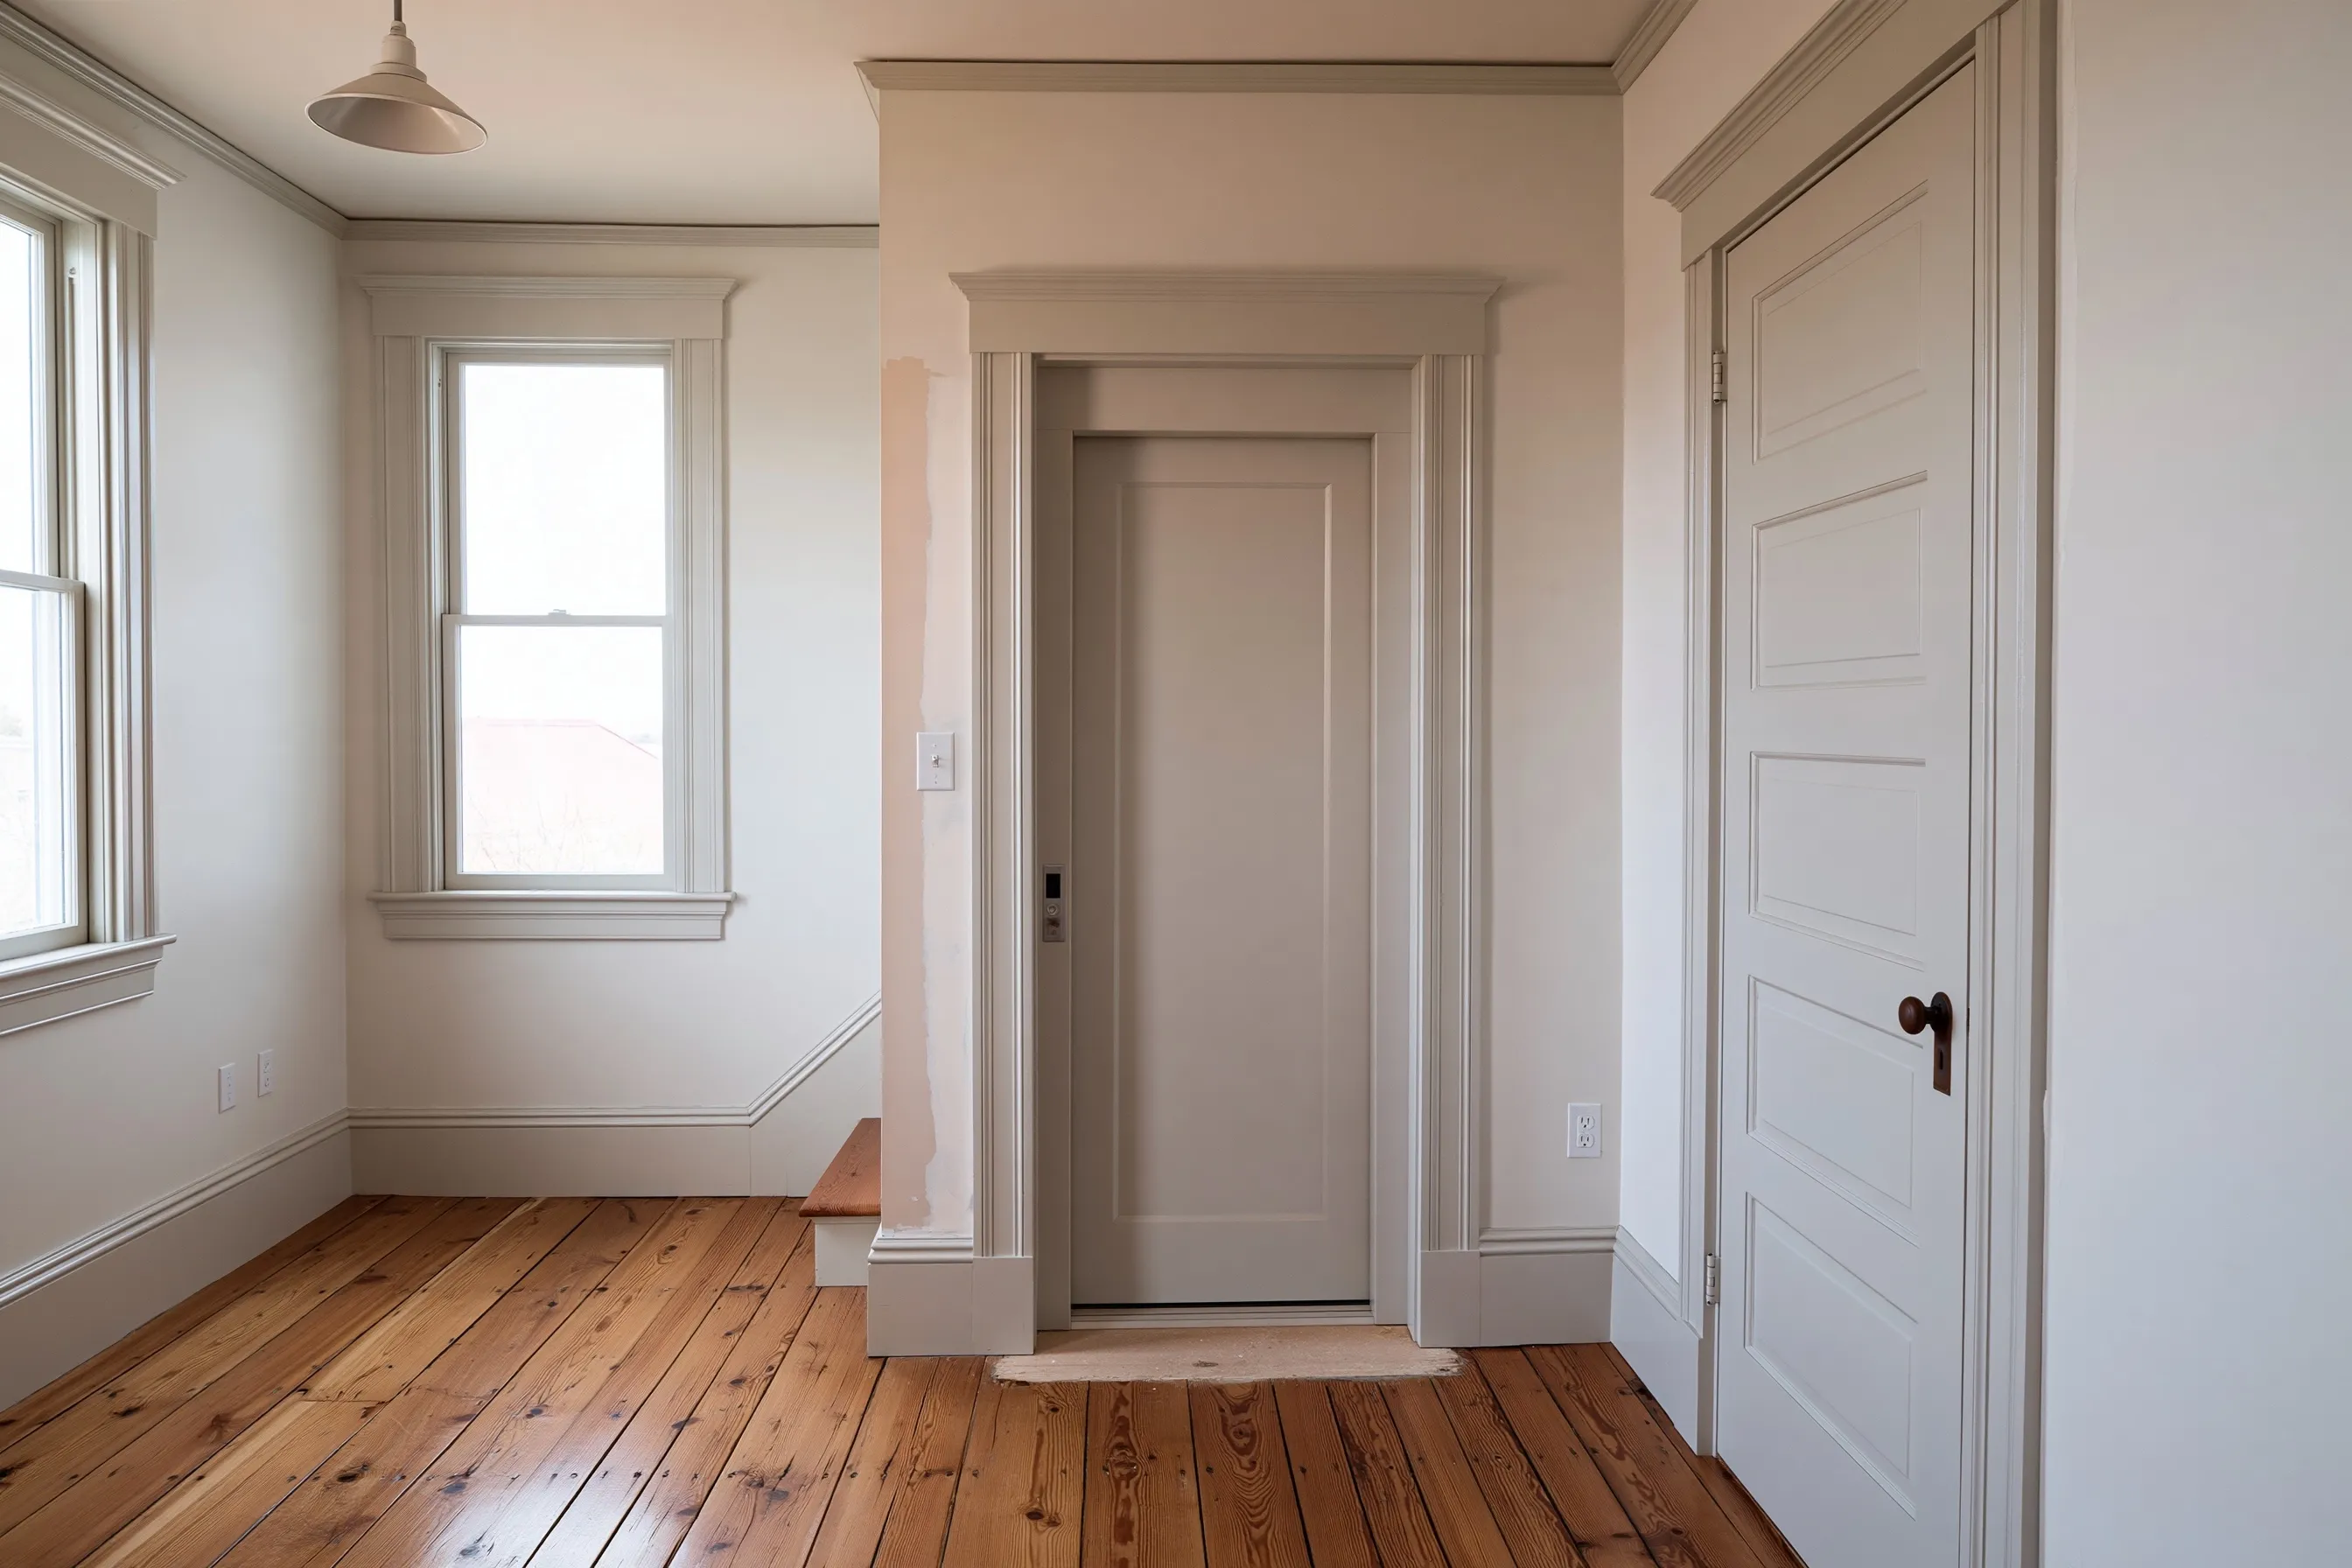
Hall of an older two-story house where a new elevator door has replaced a closet, cased in trim like the rest of the hall, on a fir floor
Home
Two-story Vancouver house built in the 1940s, roughly 2,000 sq ft
Original request
Stop carrying laundry baskets up and down the stairs
Shaft
An upstairs hall closet and the corner of the laundry room under it
Laundry
Washer and dryer moved to the other wall of the same room
Elevator
Closed cab with two stops
Timeline
Three weeks of construction and ten days or so of elevator work
Estimated cost
$68,000

Scope of work

Drawings, the closet taken out, the washer, dryer and vent moved, the floor opened and framed, the shaft built and drywalled, a power circuit, the elevator with doors at both floors, trim matched to the house, patching and paint, testing and the state elevator permit and inspection. The city permit fee is billed on top.

Project overview

In this example, the owners of a 1940s house in Vancouver have the laundry downstairs and the bedrooms upstairs. One of them has a bad shoulder, and the laundry baskets have become the hardest part of the day.

The upstairs hall closet sits right above a corner of the laundry room, so that is where the shaft goes. The washer and dryer move to the other wall, and upstairs the old closet opening becomes the elevator door.

The goal

The goal is laundry that rides upstairs, with the laundry room still working.

Process

  1. First visit Closet and laundry measured, plumbing and the dryer vent located, framing checked.
  2. Drawings and permits Plans for the shaft, a city permit and the L&I permit.
  3. Weeks one to three Washer and dryer shifted, floor cut and framed, shaft walls closed in, wiring done.
  4. Week four About ten days to set rails, cab and doors.
  5. Finish Trim painted, the ride tested, L&I inspection and a lesson on the controls.

Planning right

  • A laundry room has water, drain and vent lines. Find them before the shaft is drawn.
  • Ask whether moving the washer and dryer is in the quote. Here it is.
  • A standard cab fits a laundry basket and a person easily. Check if you plan a cart.
  • A moved dryer needs a new vent route outside. Ask where it will run.

Get a free quoteMore about adding an elevator to an existing home
Elevator tower for a step-free way in from the driveway

Example project

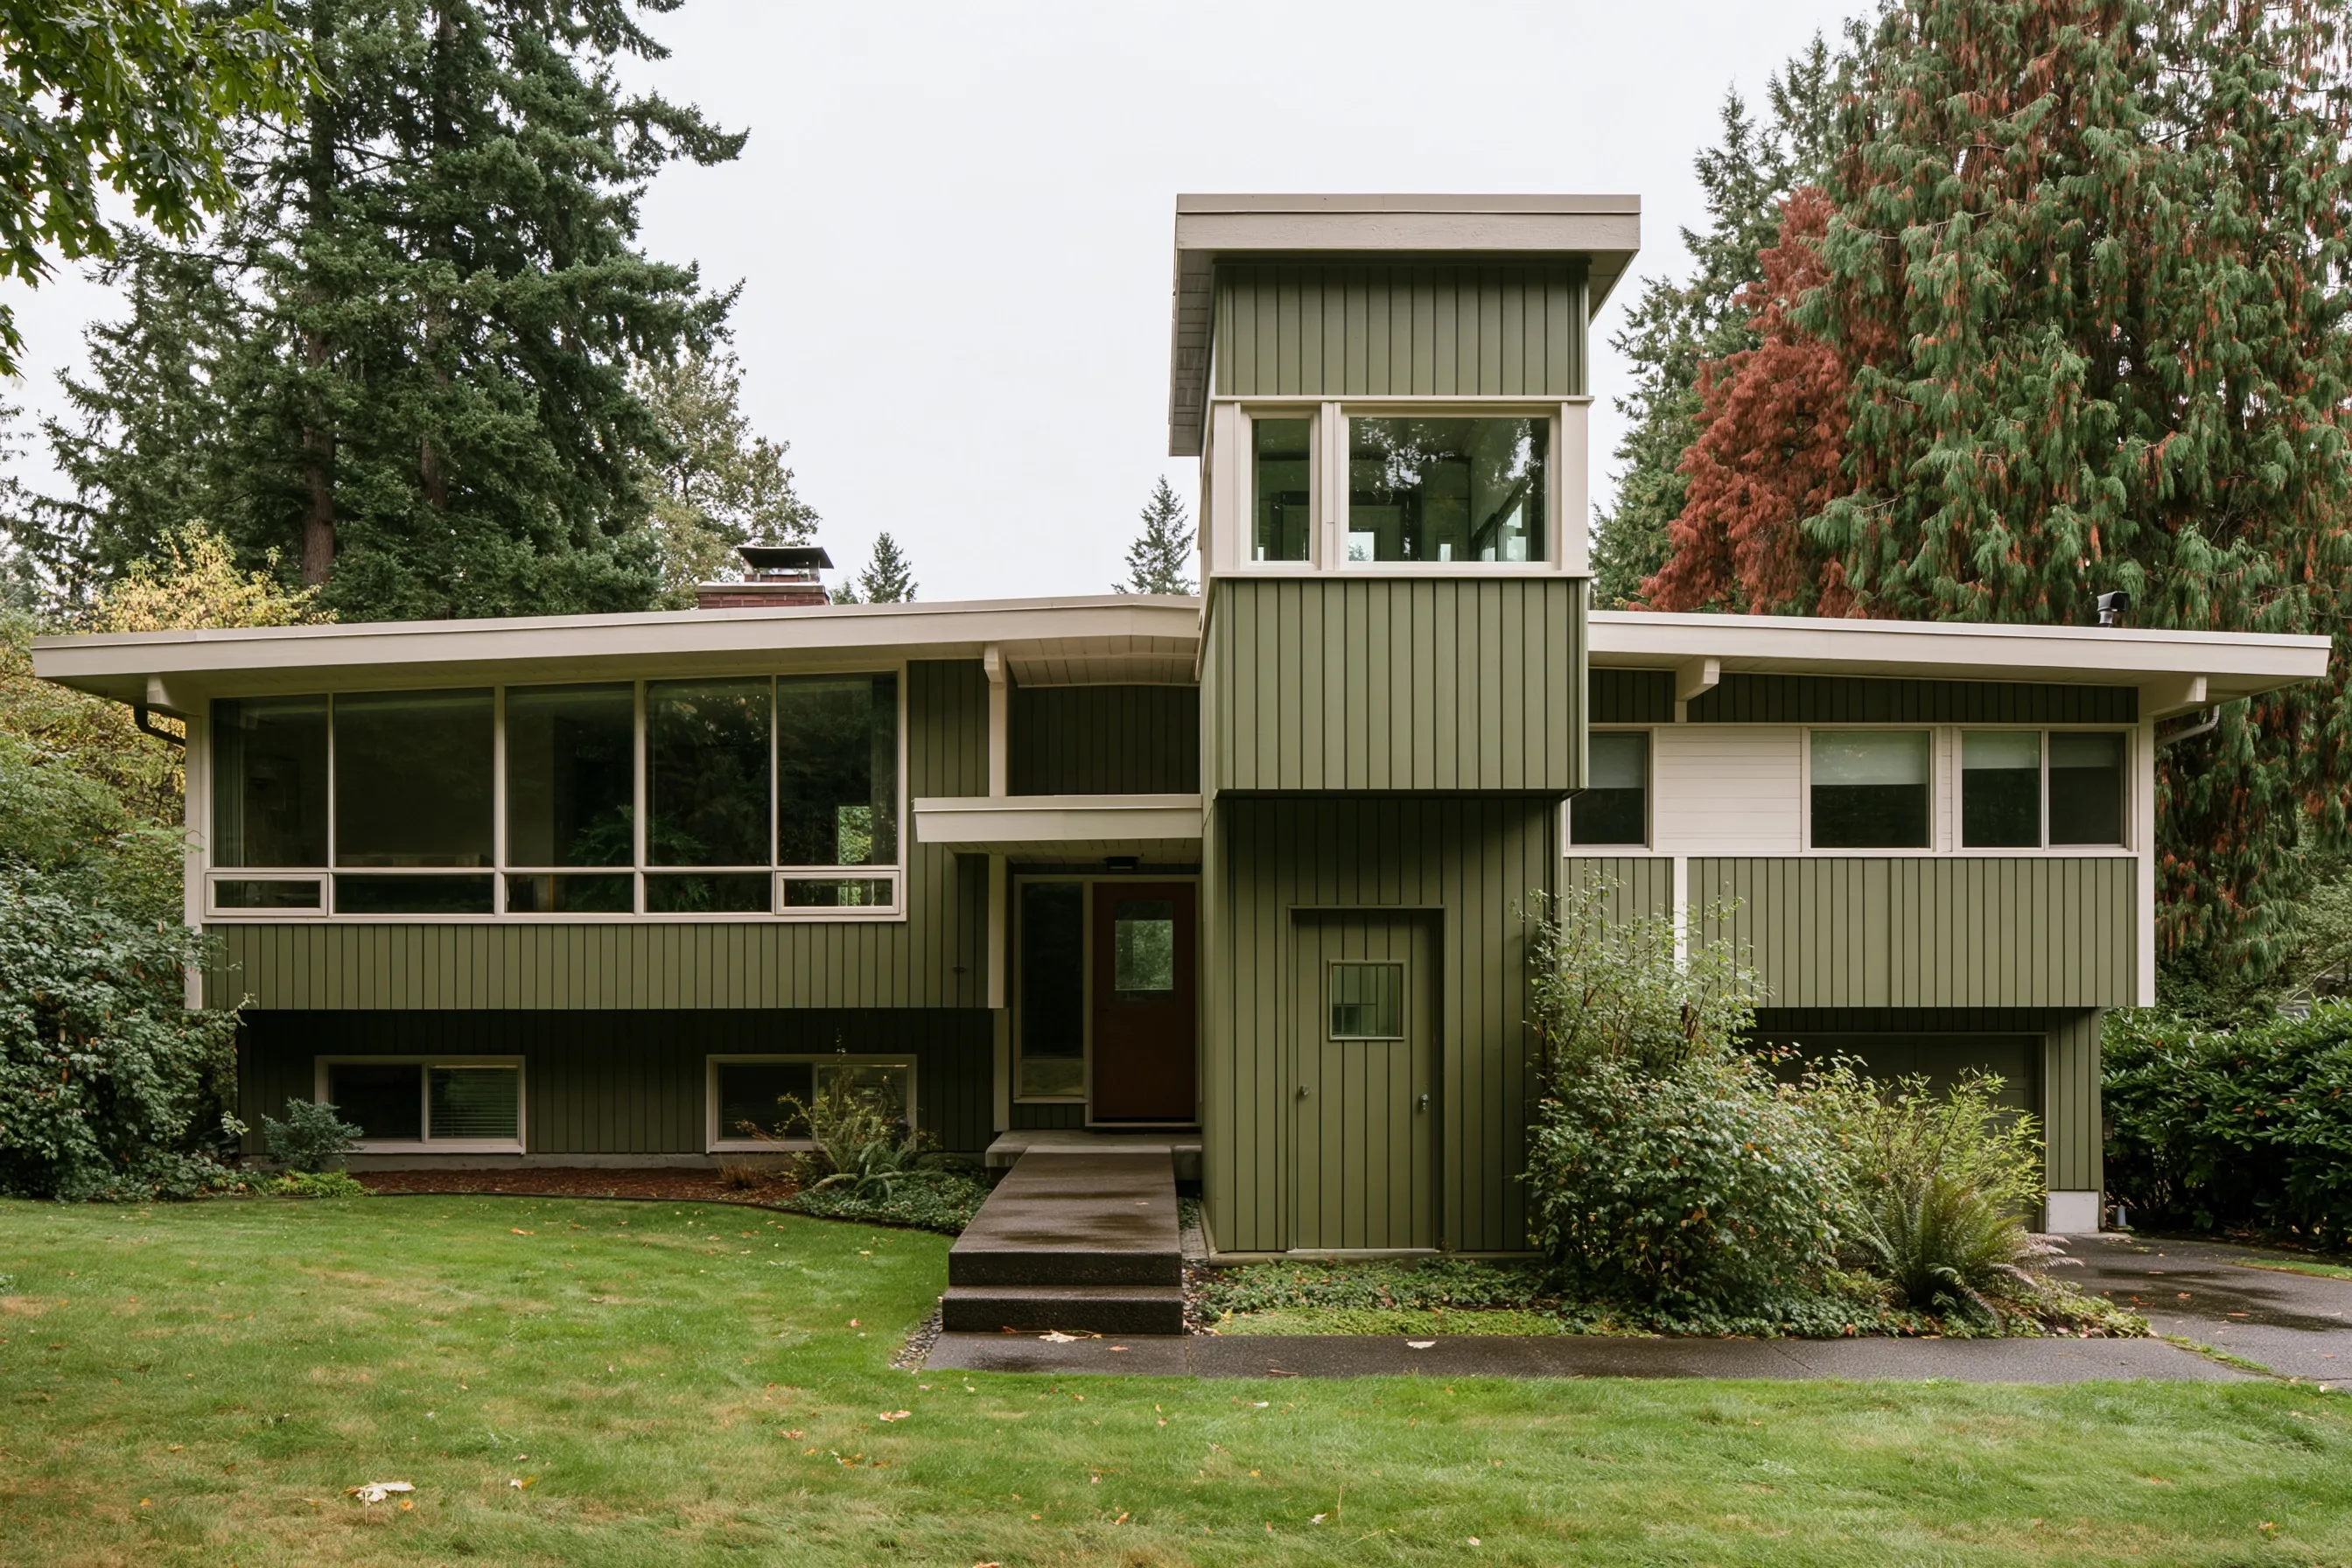
Slim two-story elevator addition clad in the same vertical board siding as a 1970s split-level, beside its front door, with a concrete path up to it
Home
Split-level Washougal house from the 1970s
Original request
Get from the driveway into the house without the front steps
Tower
Slim two-level addition by the front door in matching siding, by the owners’ own builder
Elevator
Enclosed elevator in the tower, two stops: a door at the walk and a door into the upper floor
Timeline
The builder finishes the tower, then ten days or so for the elevator
Estimated elevator cost
$51,000

Scope of work

Inside the finished tower we fit the cab, rails and drive, one door at the walk and one into the house, plus controls and hookup. We test every run and handle L&I’s permit and inspection. Design and price for the tower come from the builder.

Project overview

In this example, the owners of a 1970s split-level house in Washougal can manage inside, but the steps up to the front door and then up again to the main floor are getting hard, above all on wet winter days.

A short addition goes up next to the front door, clad like the rest of the house. A short, level walk from the driveway leads to the elevator door at ground level, and the elevator opens at the top into the upper floor. This example prices only the elevator; the tower is a separate design and quote.

The goal

The goal is a dry, step-free way from the driveway to the main floor.

Process

  1. First visit Driveway, walk and entry measured with the builder.
  2. Design The builder sizes the tower, pit and wiring from our elevator plans.
  3. Permits The builder gets the city permit for the tower; we apply to L&I for the elevator.
  4. Install With the tower weathertight, ten days or so to fit the elevator.
  5. Handover L&I inspection, then we show how the outside door and the controls work.

Planning right

  • An outside door needs a roof or overhang over it. Ask the builder to show it on the drawings.
  • Light the walk to the tower door well for winter evenings.
  • Ask how the outside door locks and seals against wind-driven rain.
  • Keep the outside door sill flush with the walk, or the step comes back.

Get a free quoteMore about enclosed home elevators

Wheelchair-size cab in a new house planned for later years

Example project

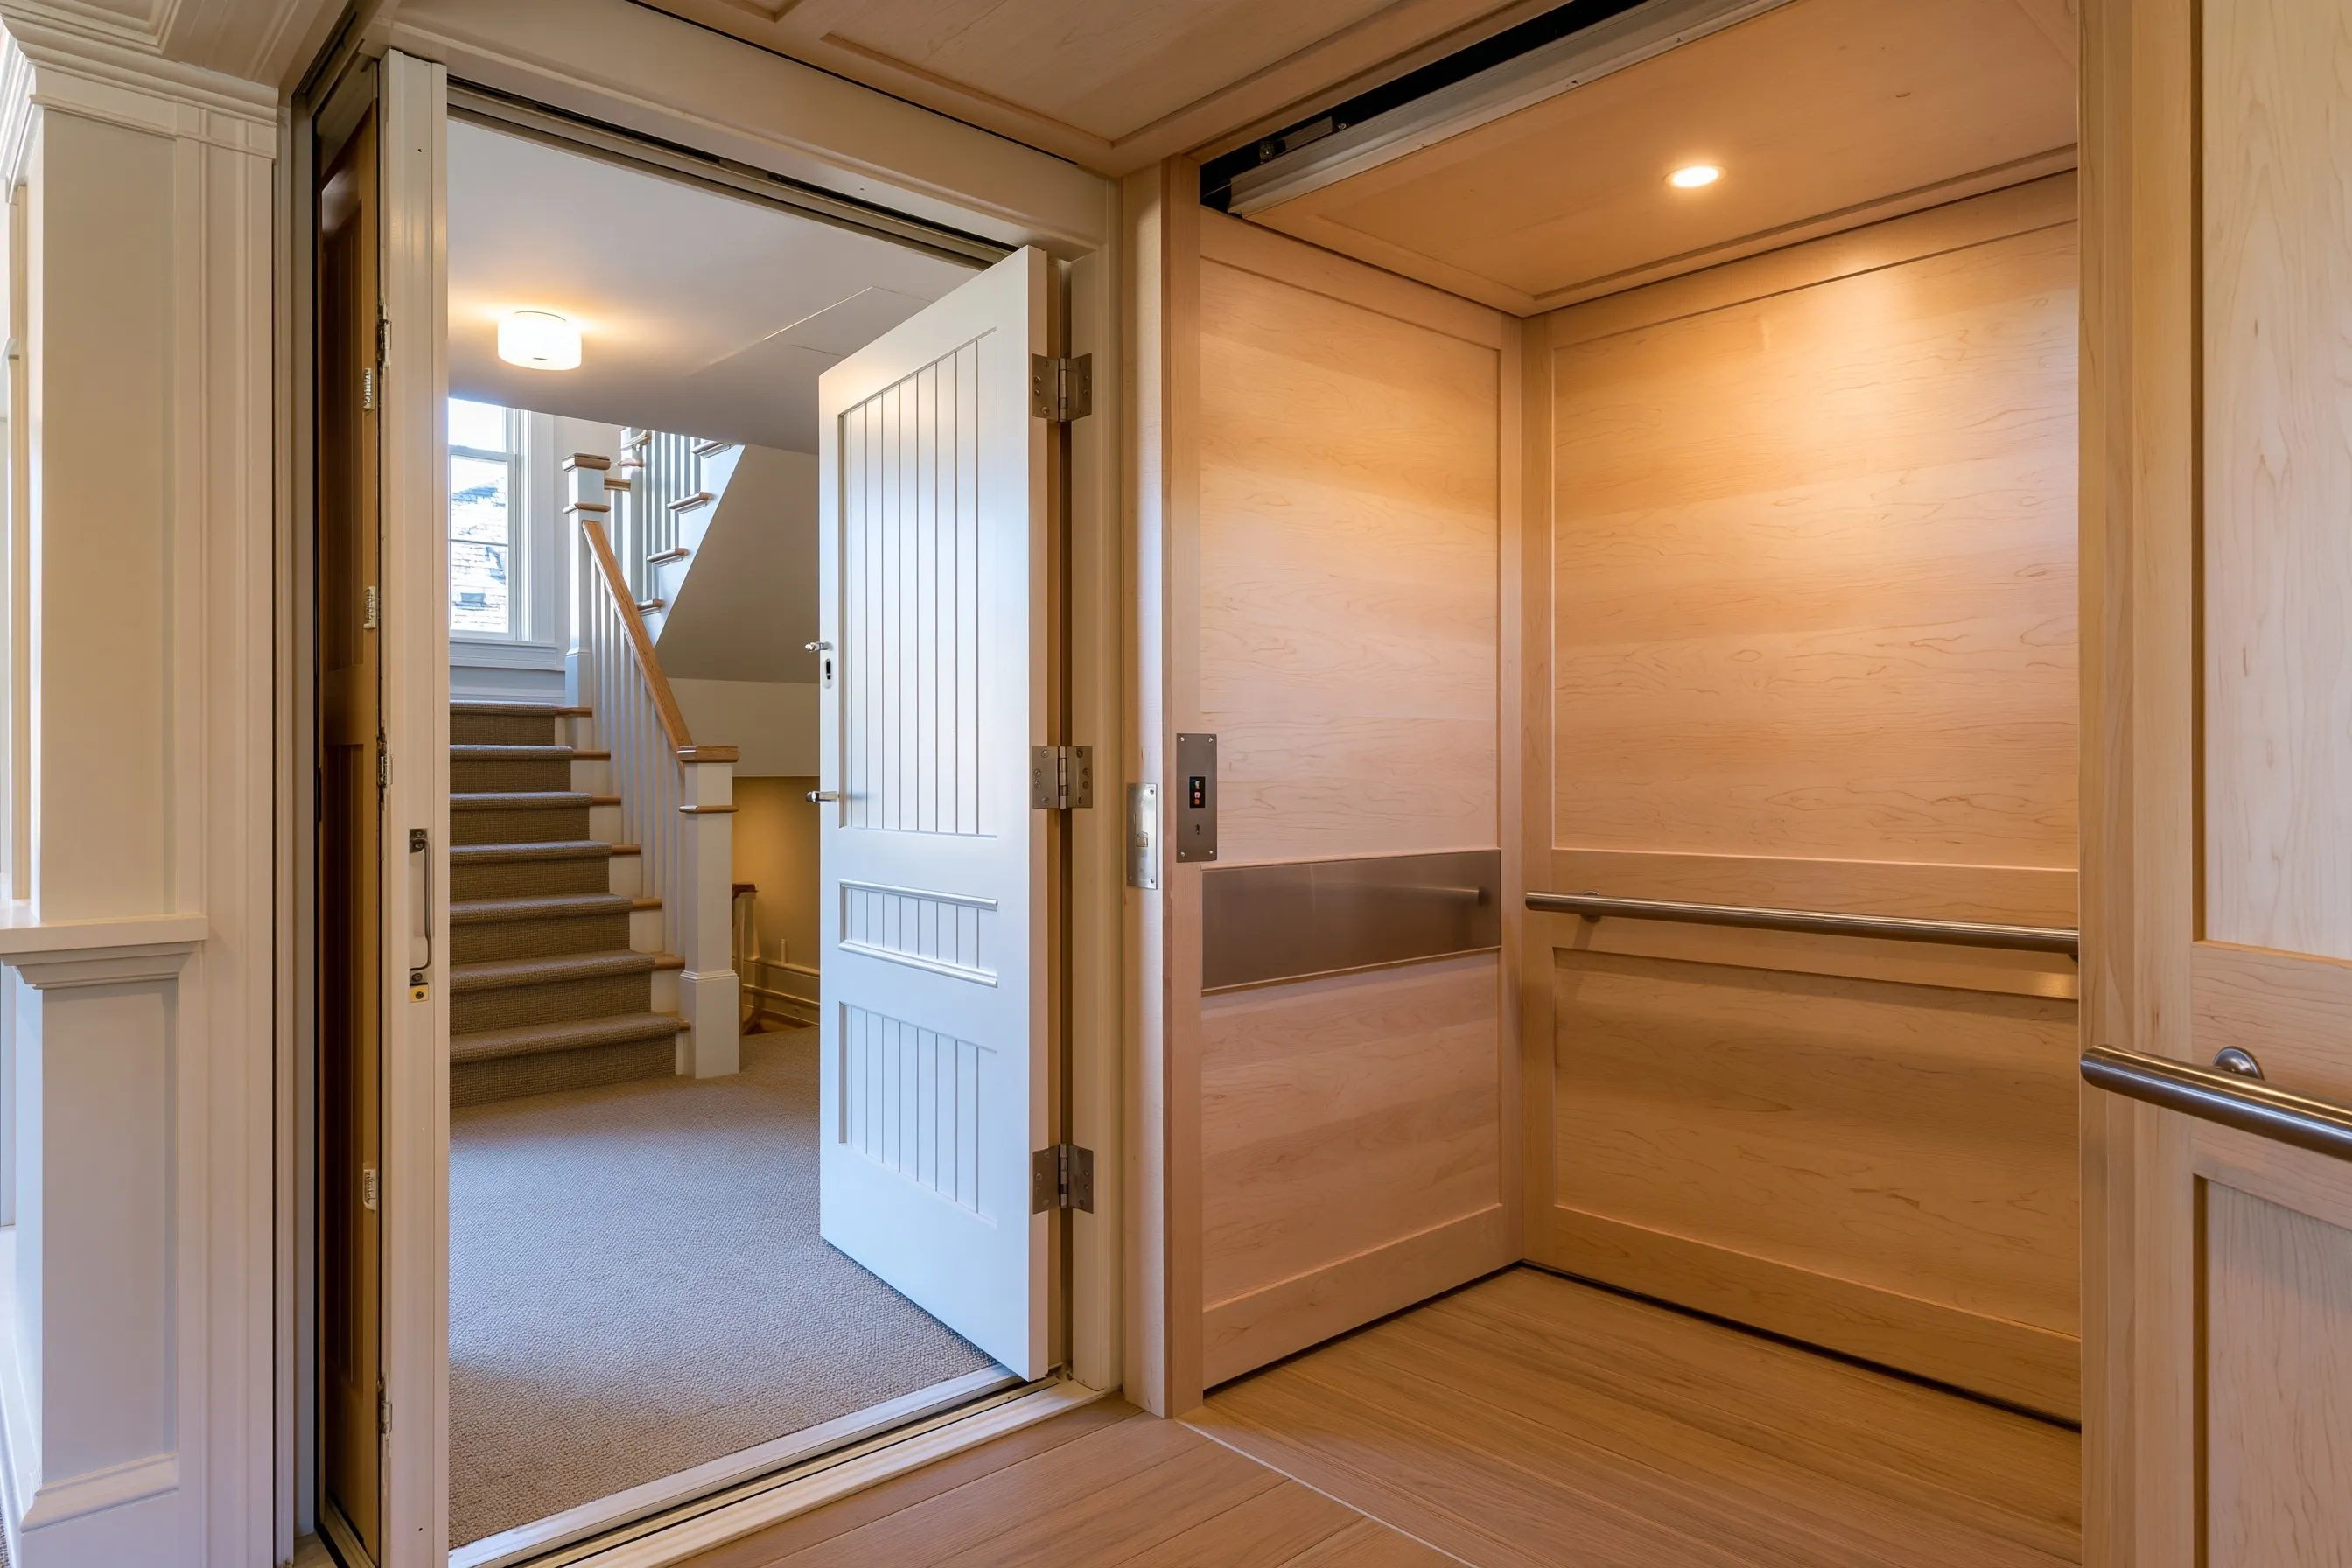
Inside an open elevator cab: pale wood panels, a metal handrail and a carpeted hall and stair beyond the door
Home
Camas house being built on two floors, around 2,800 sq ft
Original request
A house the owners can stay in for good, whatever happens to their health
Elevator
Enclosed elevator, two stops, standard cab that takes a wheelchair
Rest of the house
Wide halls, a step-free entry and a main-floor bath planned at the same time
Timeline
Shaft and pit built with the house; one to two weeks of elevator work at the end
Estimated elevator cost
$49,000

Scope of work

Once the builder has framed the shaft, we put in a cab with a handrail and wood panels, the rails, drive, two landing doors and controls, then hook it up and test it. We also take care of the L&I permit and the inspection visit. The builder looks after the shaft, pit and wiring.

Project overview

In this example, a couple in their sixties are building a two-story house in Camas that they plan to stay in for good. Neither needs an elevator today, but they would rather put one in now than leave a space to fill later.

They choose a cab that takes a wheelchair, so it will still work if their needs change. The same plan gives the house wide halls, a step-free entry and a bath on the main floor.

The goal

The goal is a new house that keeps working for its owners as their needs change.

Process

  1. Design stage Elevator chosen and the shaft, pit and power drawn into the plans with the rest of the step-free layout.
  2. Permit We apply to L&I for the elevator permit.
  3. Framing Shaft walls and pit built to our drawings.
  4. Near the end One to two weeks of install, then L&I inspects.
  5. Move-in A run-through of the buttons, the emergency phone and power-cut lowering.

Planning right

  • If you might need an elevator later, building it in now is far less work than adding it.
  • Plan the hall widths and door swings at each landing with a wheelchair in mind.
  • A main-floor bath and bedroom still help, for service days or a power cut.
  • Choose a cab floor that matches the hall so the threshold looks and feels level.

Get a free quoteMore about elevators for new homes

Glass elevator rising through the open space above a stair hall

Example project

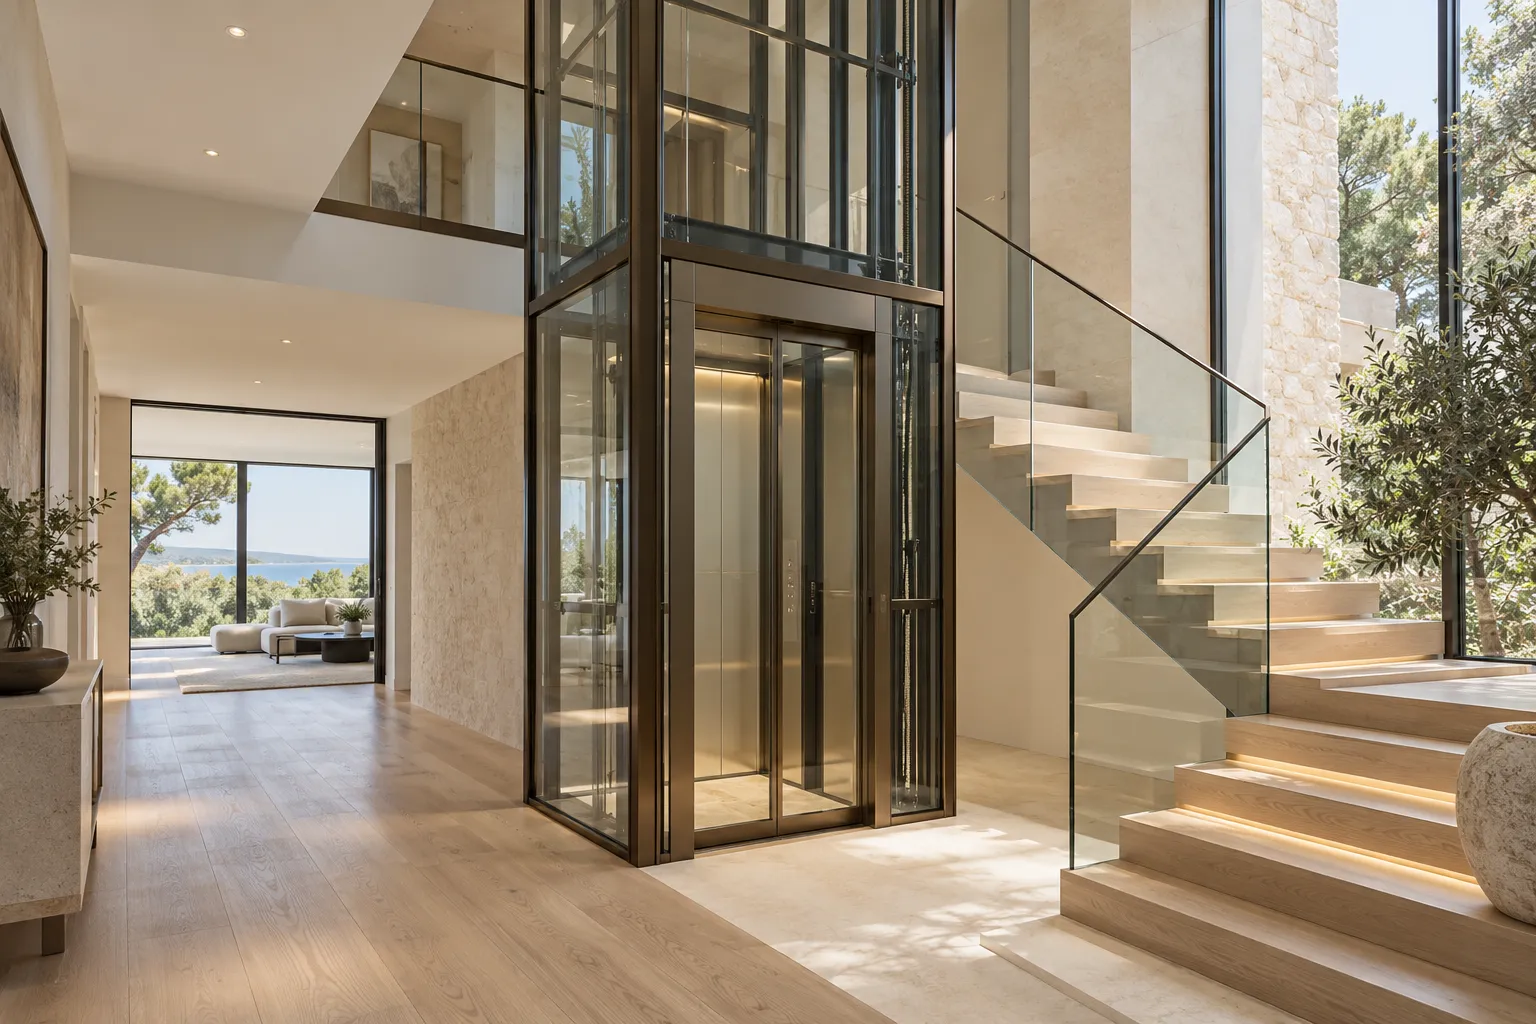
Stair hall with a framed glass elevator shaft and sliding cab doors next to floating steps, a gallery overhead and a living room looking out to water
Home
Modern Vancouver house from the 2010s, two stories, with a stair hall open to a gallery and a view of the water
Original request
An elevator that keeps the river view open from the stair hall
Spot
The open space beside the stair, which already rises two stories to the gallery
Elevator
See-through cab in a framed glass shaft serving both floors
Building work
No floor cut; a shallow pit, power, and the gallery edge reworked for the door
Timeline
One week of prep and two of shaft and elevator work
Estimated cost
$108,000

Scope of work

Drawings, a shallow pit, power, the gallery edge reworked for the landing door, the glass shaft frame and panels, the cab, drive and sliding doors at both floors, testing and the state elevator permit and inspection.

Project overview

In this example, the owners of a 2010s house in Vancouver look out over the river from their stair hall. They want an elevator there, and a closed shaft would block the view they built the house around.

The space beside the stair is already open up to the gallery, so no floor has to be cut. A glass shaft rises through that open space, and the gallery edge is reworked to take the upper landing door.

The goal

The goal is an elevator that sits in the view instead of blocking it.

Process

  1. First visit We look at the gallery edge and the floor where the pit would go.
  2. Drawings and permits City permit for the pit and the gallery changes; L&I permit for the elevator.
  3. Prep Pit formed, power run, gallery edge reworked.
  4. Install Two weeks or so to raise the glass shaft and hang the cab and doors.
  5. Handover Trial runs, then L&I signs it off.

Planning right

  • An open space that already rises two stories can save the cost of cutting a floor.
  • Stand where you look at the view most and check what the shaft frame will cross.
  • Ask how the outside of the glass shaft is cleaned at the upper level.
  • Glass shafts can warm up in afternoon sun. Ask about cab airflow.

Get a free quoteMore about glass home elevators

Request a free home elevator quote

Tell us how many floors you need, who will ride, what kind of house it is and roughly where it is. We'll get back to you soon with an estimate or any questions we have. Estimates are free and there's no obligation.

Call (360) 360-6746

Call (360) 360-6746